
Package Summary
| Version | 0.1.0 |
| License | BSD-3-Clause |
| Build type | CATKIN |
| Use | RECOMMENDED |
Repository Summary
| Checkout URI | https://github.com/EduArt-Robotik/iotbot.git |
| VCS Type | git |
| VCS Version | main |
| Last Updated | 2025-11-20 |
| Dev Status | MAINTAINED |
| Released | UNRELEASED |
| Contributing |
Help Wanted (-)
Good First Issues (-) Pull Requests to Review (-) |
Package Description
Additional Links
Maintainers
- EduArt Robotik
Authors
- Stefan May (EduArt Robotik)
iotbot
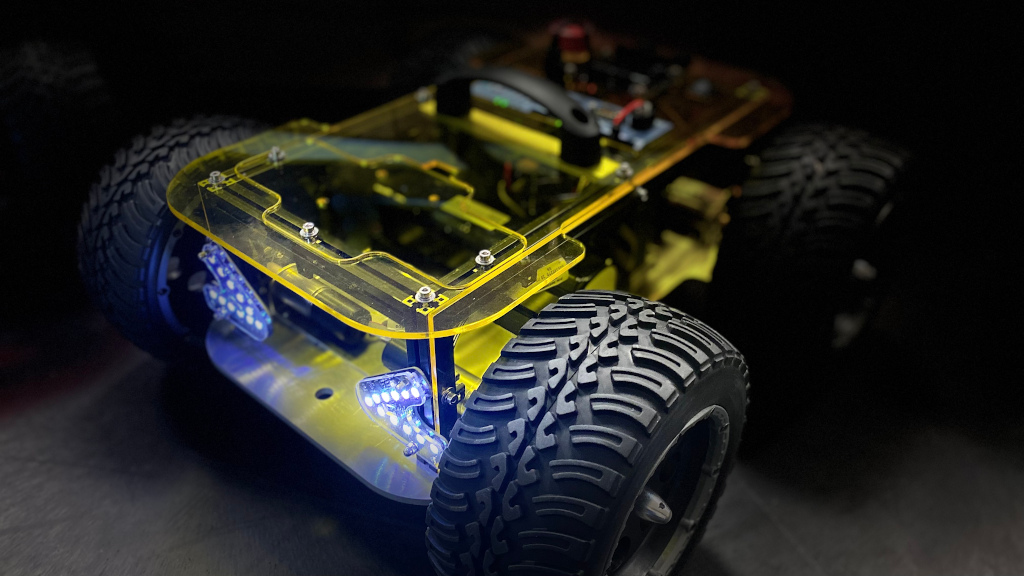
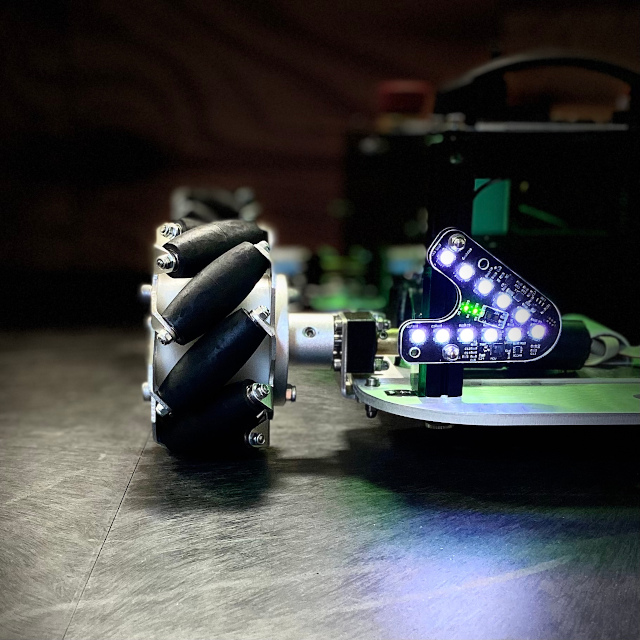
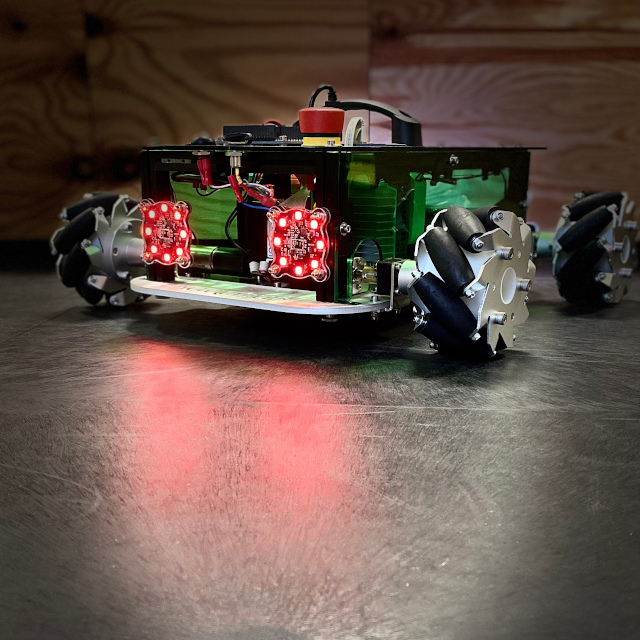
This package comprises a ROS interface for EduArt’s Eduard-Plattform, aka IOTbot. It includes two kinematic concepts: Mecanum steering and skid steering. Both can be used in dependency of the mounted wheels.
Installation on IOT2050 Devices with Debian Buster from Scratch
apt update
apt upgrade
reboot
sudo sh -c 'echo "deb http://packages.ros.org/ros/ubuntu buster main" > /etc/apt/sources.list.d/ros-latest.list'
apt-key adv --keyserver 'hkp://keyserver.ubuntu.com:80' --recv-key C1CF6E31E6BADE8868B172B4F42ED6FBAB17C654
apt update
apt install ros-noetic-ros-base ros-noetic-joy git
echo "source /opt/ros/noetic/setup.bash" >> ~/.bashrc
source /opt/ros/noetic/setup.bash
mkdir -p catkin_ws/src
cd catkin_ws/src/
catkin_init_workspace
git clone https://github.com/eduart-robotik/iotbot.git
cd ..
catkin_make
Additionally, the UART interface needs to be configured with
iot2050setup
Configure I/O to use UART RX & TX pins. Reboot the device:
reboot
Launching the Robot
In order to run the robot, you need to launch the appropriate launch file. In the launch folder, there are four prepared templates. Choose the right kinematic concept and the right motor variant (basic or performance).
roslaunch iotbot skid_performance.launch
When everthing is initialized well, one should see the following output:
[ WARN] [1628772862.880453339]: Lag detected ... deactivate motor control
This is not a bug, but a feature, since the robot will stop immediately, if no frequent communication with a controlling node is established.
Please notice also, that the ROS variables ROS_MASTER_URI and ROS_IP should be set properly. If you have a changing IP-address of the robot, you might consider to use the following bash code in your ~/.bashrc:
MYIP=`hostname -I | awk '{print $1}'`
export ROS_MASTER_URI=http://${MYIP}:11311
export ROS_IP=${MYIP}
Steering with Joystick Extreme 3D Pro
Install the ROS joy interface on your host machine, if you have an Extreme 3D Pro.
sudo apt install ros-noetic-joy
After installation, ensure to have configured the ROS communication well:
export ROS_MASTER_URI=http://<IP_OF_IOTBOT>:11311
export ROS_IP=<HOST_IP>
Finally, launch the joy node as follows:
rosrun joy joy_node _autorepeat_rate:=10
The output of warnings on the IOT2050 device should stop and the IOTbot can be steered. Please find the button and axis mapping of the joystick below:
| Button | Function |
|---|---|
| F1 | Beam light |
| F2 | Warning light |
| F3 | Flash left |
| F4 | Flash right |
| F5 | Rotational light |
| F6 | Running light |
| F11 | Enable robot |
Important: The robot must be enabled, before it will move!
| Axis | Function |
|---|---|
| y (0) | Move left/right |
| x (1) | Move for-/backward |
| z (2) | Turn left/right |
| 3 | Throttle |
Steering with Keyboard
For the IOTbot, a minimalistic GUI is provided, that enables the steering with the keyboard. For installation and usage, please visit the following repository: https://github.com/eduart-robotik/edu_virtual_joy.git
Quick Start Guide for pre-installed Systems
1) Switch on robot and connect to the wireless network (pre-installed systems have the SSID “Eduard_{Color}”).
File truncated at 100 lines see the full file
Package Dependencies
| Deps | Name |
|---|---|
| geometry_msgs | |
| joy | |
| roscpp | |
| sensor_msgs | |
| std_srvs | |
| catkin |
System Dependencies
Dependant Packages
Launch files
Messages
Services
Plugins
Recent questions tagged iotbot at Robotics Stack Exchange
Package Summary
| Version | 0.1.0 |
| License | BSD-3-Clause |
| Build type | CATKIN |
| Use | RECOMMENDED |
Repository Summary
| Checkout URI | https://github.com/EduArt-Robotik/iotbot.git |
| VCS Type | git |
| VCS Version | main |
| Last Updated | 2025-11-20 |
| Dev Status | MAINTAINED |
| Released | UNRELEASED |
| Contributing |
Help Wanted (-)
Good First Issues (-) Pull Requests to Review (-) |
Package Description
Additional Links
Maintainers
- EduArt Robotik
Authors
- Stefan May (EduArt Robotik)
iotbot
This package comprises a ROS interface for EduArt’s Eduard-Plattform, aka IOTbot. It includes two kinematic concepts: Mecanum steering and skid steering. Both can be used in dependency of the mounted wheels.
Installation on IOT2050 Devices with Debian Buster from Scratch
apt update
apt upgrade
reboot
sudo sh -c 'echo "deb http://packages.ros.org/ros/ubuntu buster main" > /etc/apt/sources.list.d/ros-latest.list'
apt-key adv --keyserver 'hkp://keyserver.ubuntu.com:80' --recv-key C1CF6E31E6BADE8868B172B4F42ED6FBAB17C654
apt update
apt install ros-noetic-ros-base ros-noetic-joy git
echo "source /opt/ros/noetic/setup.bash" >> ~/.bashrc
source /opt/ros/noetic/setup.bash
mkdir -p catkin_ws/src
cd catkin_ws/src/
catkin_init_workspace
git clone https://github.com/eduart-robotik/iotbot.git
cd ..
catkin_make
Additionally, the UART interface needs to be configured with
iot2050setup
Configure I/O to use UART RX & TX pins. Reboot the device:
reboot
Launching the Robot
In order to run the robot, you need to launch the appropriate launch file. In the launch folder, there are four prepared templates. Choose the right kinematic concept and the right motor variant (basic or performance).
roslaunch iotbot skid_performance.launch
When everthing is initialized well, one should see the following output:
[ WARN] [1628772862.880453339]: Lag detected ... deactivate motor control
This is not a bug, but a feature, since the robot will stop immediately, if no frequent communication with a controlling node is established.
Please notice also, that the ROS variables ROS_MASTER_URI and ROS_IP should be set properly. If you have a changing IP-address of the robot, you might consider to use the following bash code in your ~/.bashrc:
MYIP=`hostname -I | awk '{print $1}'`
export ROS_MASTER_URI=http://${MYIP}:11311
export ROS_IP=${MYIP}
Steering with Joystick Extreme 3D Pro
Install the ROS joy interface on your host machine, if you have an Extreme 3D Pro.
sudo apt install ros-noetic-joy
After installation, ensure to have configured the ROS communication well:
export ROS_MASTER_URI=http://<IP_OF_IOTBOT>:11311
export ROS_IP=<HOST_IP>
Finally, launch the joy node as follows:
rosrun joy joy_node _autorepeat_rate:=10
The output of warnings on the IOT2050 device should stop and the IOTbot can be steered. Please find the button and axis mapping of the joystick below:
| Button | Function |
|---|---|
| F1 | Beam light |
| F2 | Warning light |
| F3 | Flash left |
| F4 | Flash right |
| F5 | Rotational light |
| F6 | Running light |
| F11 | Enable robot |
Important: The robot must be enabled, before it will move!
| Axis | Function |
|---|---|
| y (0) | Move left/right |
| x (1) | Move for-/backward |
| z (2) | Turn left/right |
| 3 | Throttle |
Steering with Keyboard
For the IOTbot, a minimalistic GUI is provided, that enables the steering with the keyboard. For installation and usage, please visit the following repository: https://github.com/eduart-robotik/edu_virtual_joy.git
Quick Start Guide for pre-installed Systems
1) Switch on robot and connect to the wireless network (pre-installed systems have the SSID “Eduard_{Color}”).
File truncated at 100 lines see the full file
Package Dependencies
| Deps | Name |
|---|---|
| geometry_msgs | |
| joy | |
| roscpp | |
| sensor_msgs | |
| std_srvs | |
| catkin |