
Repository Summary
| Checkout URI | https://github.com/UbiquityRobotics/raspicam_node.git |
| VCS Type | git |
| VCS Version | kinetic |
| Last Updated | 2020-07-02 |
| Dev Status | UNMAINTAINED |
| Released | UNRELEASED |
| Contributing |
Help Wanted (-)
Good First Issues (-) Pull Requests to Review (-) |
Packages
| Name | Version |
|---|---|
| raspicam_node | 0.5.0 |
README
raspicam_node
ROS node for the Raspberry Pi Camera Module. Works with both the V1.x and V2.x versions of the module. We recommend using the v2.x cameras as they have better auto gain, and the general image quality is better.
Installation
A binary can be found at https://packages.ubiquityrobotics.com/ follow the instructions there to add the repository.
Then run sudo apt install ros-kinetic-raspicam-node
Build Intructions
If you want to build from source instead of using the binary follow this section.
This node is primarily supported on ROS Kinetic, and Ubuntu 16.04, and that is what these instuctions presume.
Go to your catkin_ws cd ~/catkin_ws/src.
Download the source for this node by running
git clone https://github.com/UbiquityRobotics/raspicam_node.git
There are some dependencies that are not recognized by ros, so you need to create the file /etc/ros/rosdep/sources.list.d/30-ubiquity.list and add this to it.
yaml https://raw.githubusercontent.com/UbiquityRobotics/rosdep/master/raspberry-pi.yaml
Then run rosdep update.
Install the ros dependencies,
cd ~/catkin_ws
rosdep install --from-paths src --ignore-src --rosdistro=kinetic -y
Compile the code with catkin_make.
Running the Node
Once you have the node built, you can run it using a launch file.
For a V2.x camera, run roslaunch raspicam_node camerav2_1280x960.launch
For a V1.x camera, run roslaunch raspicam_node camerav1_1280x720.launch
Use rqt_image_view on a connected computer to view the published image.
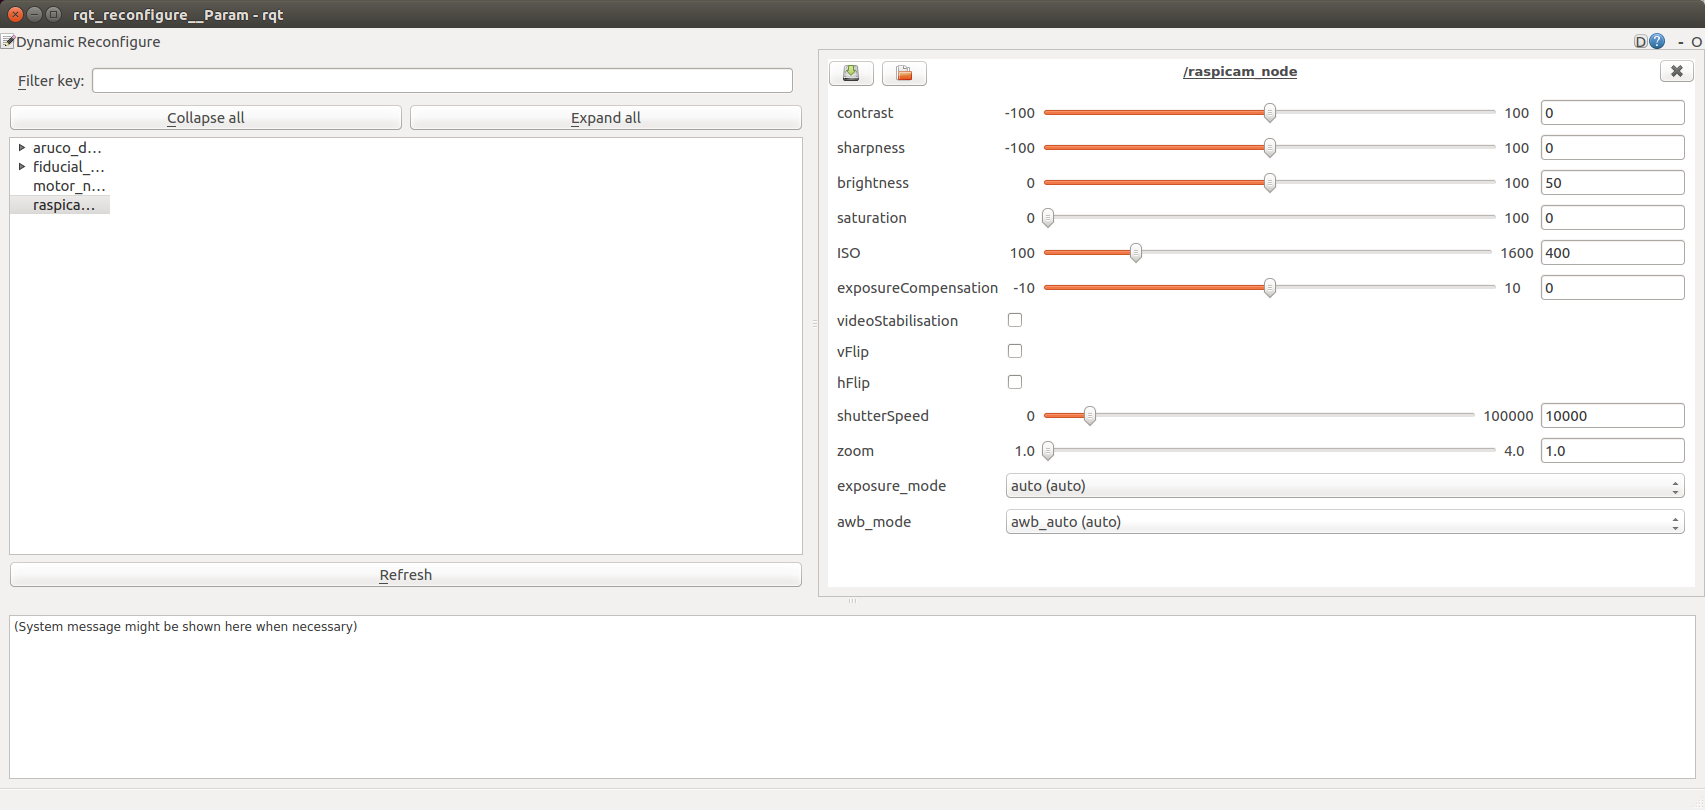
Configuring the node with dynamic reconfigure
The raspicam_node supports dynamically reconfiguring the camera parameters.
Run the dynamic reconfigure node on a connected computer:
rosrun rqt_reconfigure rqt_reconfigure
It should bring up a user interface like the one below. Paramaters can be dynamically adjusted via this interface.
Troubleshooting
-
Make sure that your user is in the
videogroup by runninggroups|grep video. -
If you get an error saying:
Failed to create camera component, make sure that the camera cable is properly seated on both ends, and that the cable is not missing any pins. -
If the publish rate of the image over the network is lower than expected, consider using a lower resolution to reduce the amount of bandwidth required.
Node Information
Topics:
-
~/image/compressed: Publishessensor_msgs/CompressedImagewith jpeg from the camera module. -
~/image: Publishessensor_msgs/Imagefrom the camera module (if parameterenable_rawis set). -
~/motion_vectors: Publishesraspicam_node/MotionVectorsfrom the camera module (if parameterenable_imvis set). -
~/camera_info: Publishessensor_msgs/CameraInfocamera info for each frame.
Services:
-
~/set_camera_info: Used to update calibration info for the camera.
Parameters:
-
~private_topics(bool): By default the topics are private, meaning the node name will be added in front of every topic name. If you don’t want the topics to be private, you can set this parameter to “true”. This parameter is mainly present in order to keep backward compatibility. -
~camera_frame_id(tf frame): The frame identifier to associate the camera. -
~camera_info_url: The URL of the camera calibration.yamlfile. -
~camera_name(string): The name of the camera, should match with name in camera_info file.
File truncated at 100 lines see the full file
CONTRIBUTING
Repository Summary
| Checkout URI | https://github.com/UbiquityRobotics/raspicam_node.git |
| VCS Type | git |
| VCS Version | kinetic |
| Last Updated | 2020-07-02 |
| Dev Status | UNMAINTAINED |
| Released | UNRELEASED |
| Contributing |
Help Wanted (-)
Good First Issues (-) Pull Requests to Review (-) |
Packages
| Name | Version |
|---|---|
| raspicam_node | 0.5.0 |
README
raspicam_node
ROS node for the Raspberry Pi Camera Module. Works with both the V1.x and V2.x versions of the module. We recommend using the v2.x cameras as they have better auto gain, and the general image quality is better.
Installation
A binary can be found at https://packages.ubiquityrobotics.com/ follow the instructions there to add the repository.
Then run sudo apt install ros-kinetic-raspicam-node
Build Intructions
If you want to build from source instead of using the binary follow this section.
This node is primarily supported on ROS Kinetic, and Ubuntu 16.04, and that is what these instuctions presume.
Go to your catkin_ws cd ~/catkin_ws/src.
Download the source for this node by running
git clone https://github.com/UbiquityRobotics/raspicam_node.git
There are some dependencies that are not recognized by ros, so you need to create the file /etc/ros/rosdep/sources.list.d/30-ubiquity.list and add this to it.
yaml https://raw.githubusercontent.com/UbiquityRobotics/rosdep/master/raspberry-pi.yaml
Then run rosdep update.
Install the ros dependencies,
cd ~/catkin_ws
rosdep install --from-paths src --ignore-src --rosdistro=kinetic -y
Compile the code with catkin_make.
Running the Node
Once you have the node built, you can run it using a launch file.
For a V2.x camera, run roslaunch raspicam_node camerav2_1280x960.launch
For a V1.x camera, run roslaunch raspicam_node camerav1_1280x720.launch
Use rqt_image_view on a connected computer to view the published image.
Configuring the node with dynamic reconfigure
The raspicam_node supports dynamically reconfiguring the camera parameters.
Run the dynamic reconfigure node on a connected computer:
rosrun rqt_reconfigure rqt_reconfigure
It should bring up a user interface like the one below. Paramaters can be dynamically adjusted via this interface.
Troubleshooting
-
Make sure that your user is in the
videogroup by runninggroups|grep video. -
If you get an error saying:
Failed to create camera component, make sure that the camera cable is properly seated on both ends, and that the cable is not missing any pins. -
If the publish rate of the image over the network is lower than expected, consider using a lower resolution to reduce the amount of bandwidth required.
Node Information
Topics:
-
~/image/compressed: Publishessensor_msgs/CompressedImagewith jpeg from the camera module. -
~/image: Publishessensor_msgs/Imagefrom the camera module (if parameterenable_rawis set). -
~/motion_vectors: Publishesraspicam_node/MotionVectorsfrom the camera module (if parameterenable_imvis set). -
~/camera_info: Publishessensor_msgs/CameraInfocamera info for each frame.
Services:
-
~/set_camera_info: Used to update calibration info for the camera.
Parameters:
-
~private_topics(bool): By default the topics are private, meaning the node name will be added in front of every topic name. If you don’t want the topics to be private, you can set this parameter to “true”. This parameter is mainly present in order to keep backward compatibility. -
~camera_frame_id(tf frame): The frame identifier to associate the camera. -
~camera_info_url: The URL of the camera calibration.yamlfile. -
~camera_name(string): The name of the camera, should match with name in camera_info file.
File truncated at 100 lines see the full file